Features/Connectors & joints
Connectors & joints
Split parts are only half the job. Connectors help them go back together the way you intended.
When to use it
- Flat cuts need alignment pegs or magnets
- You remount a Smart Detach piece onto the body
- Large props must assemble the same way every time
- You want a dry-fit before glue
How it works
- Split the model with the cut tool that fits your seam.
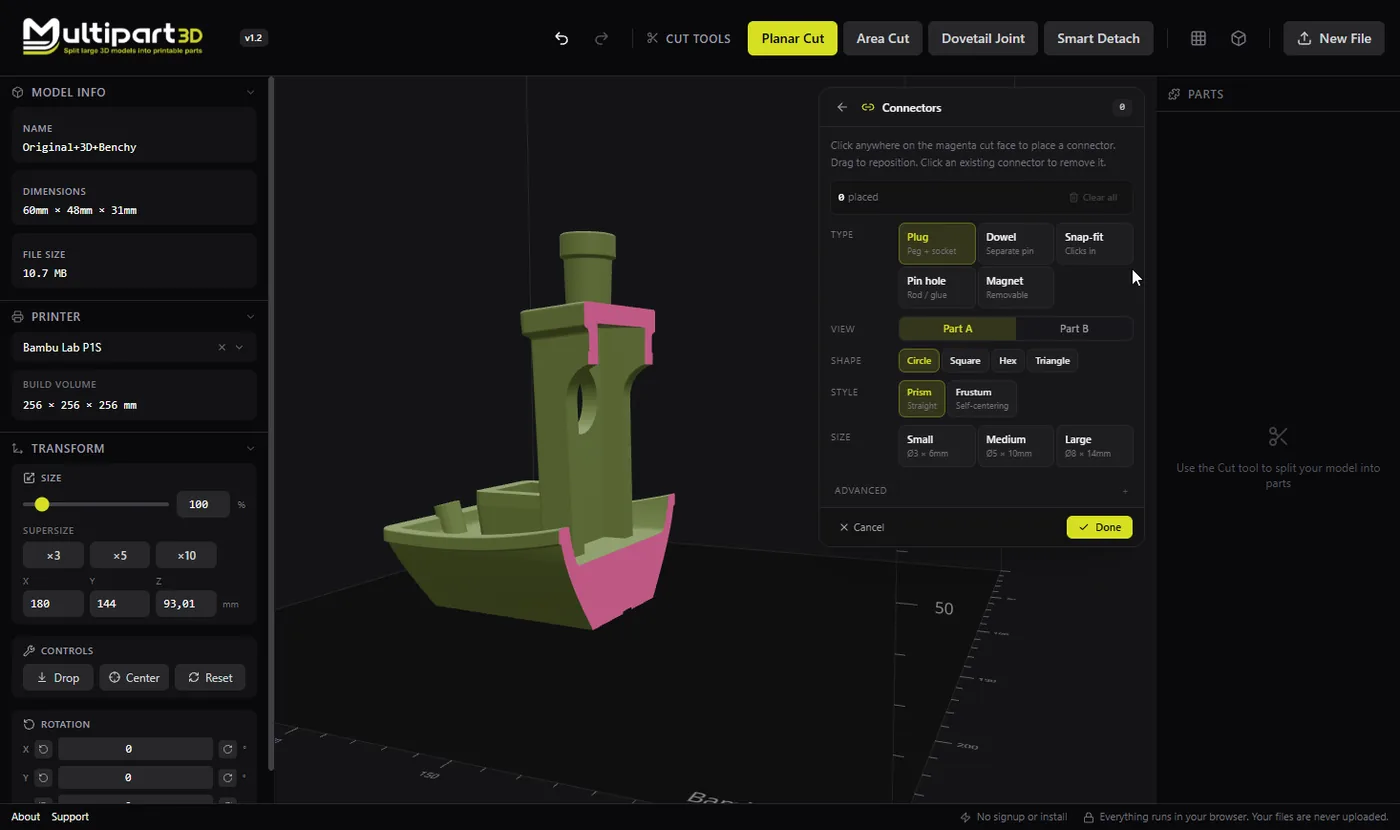
- Open Add Connectors and place pins on the cut face.
- Pick a connector type and tune size or tolerance for your printer.
- Export both parts and test-fit before final glue if needed.
Options
Plug
A peg baked into one half with a matching socket in the other. Choose circle, square, hex, or triangle cross-sections. Prism is straight; frustum tapers for self-centering on insert.
Dowel
Sockets in both halves plus a separately printed pin. Useful when you want a replaceable alignment pin or a looser fit you can size independently.
Snap-fit
Clicks together and resists pull-out. Styles include annular barb, cantilever hook, dual cantilever, and split arrowhead dart.
Pin hole
A hole straight through both halves for a metal rod, bamboo skewer, bolt, or glued alignment pin.
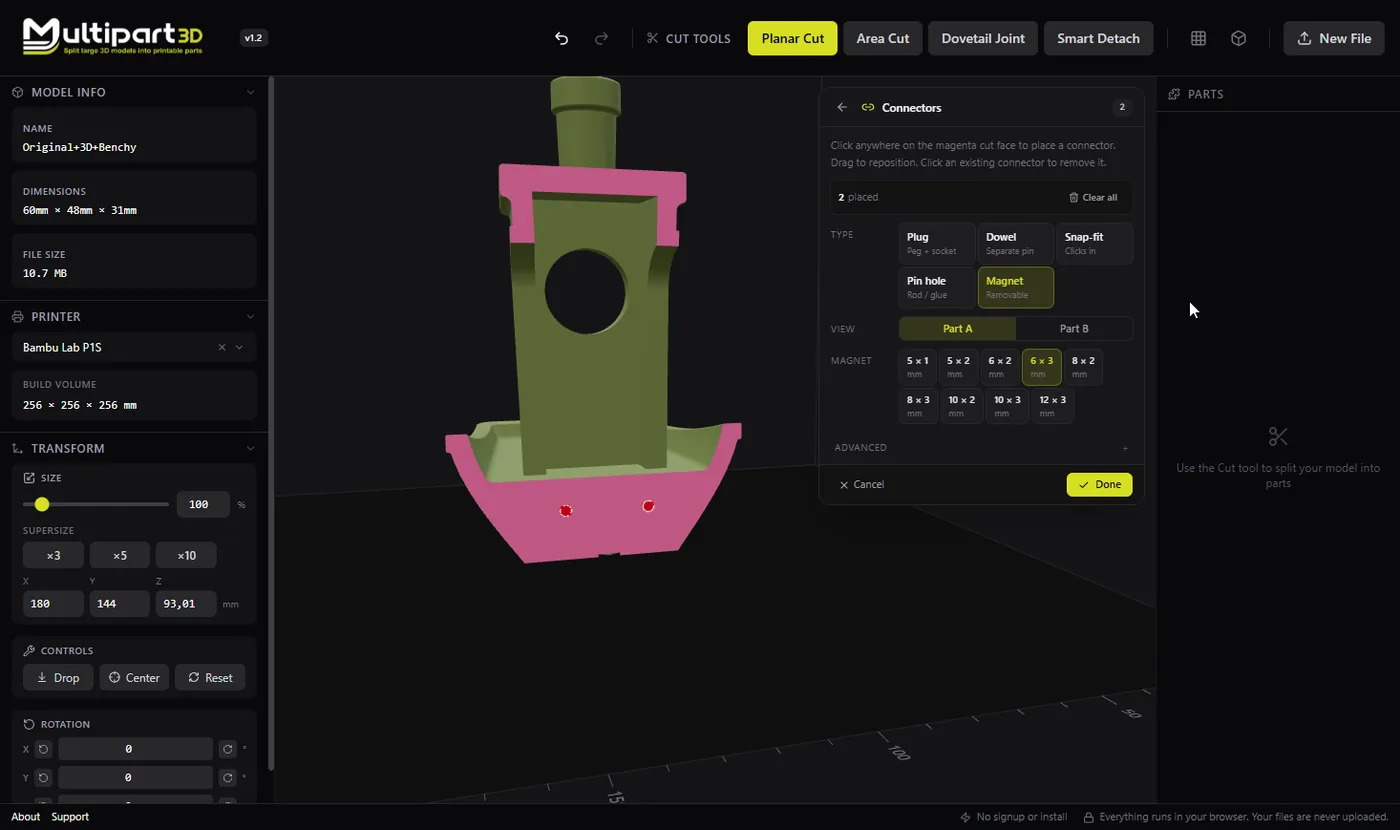
Magnet
Flat-bottomed disc-magnet pockets in both halves. Good for remountable accessories. Presets cover common sizes such as 6×3, 8×2, and 10×3 mm.
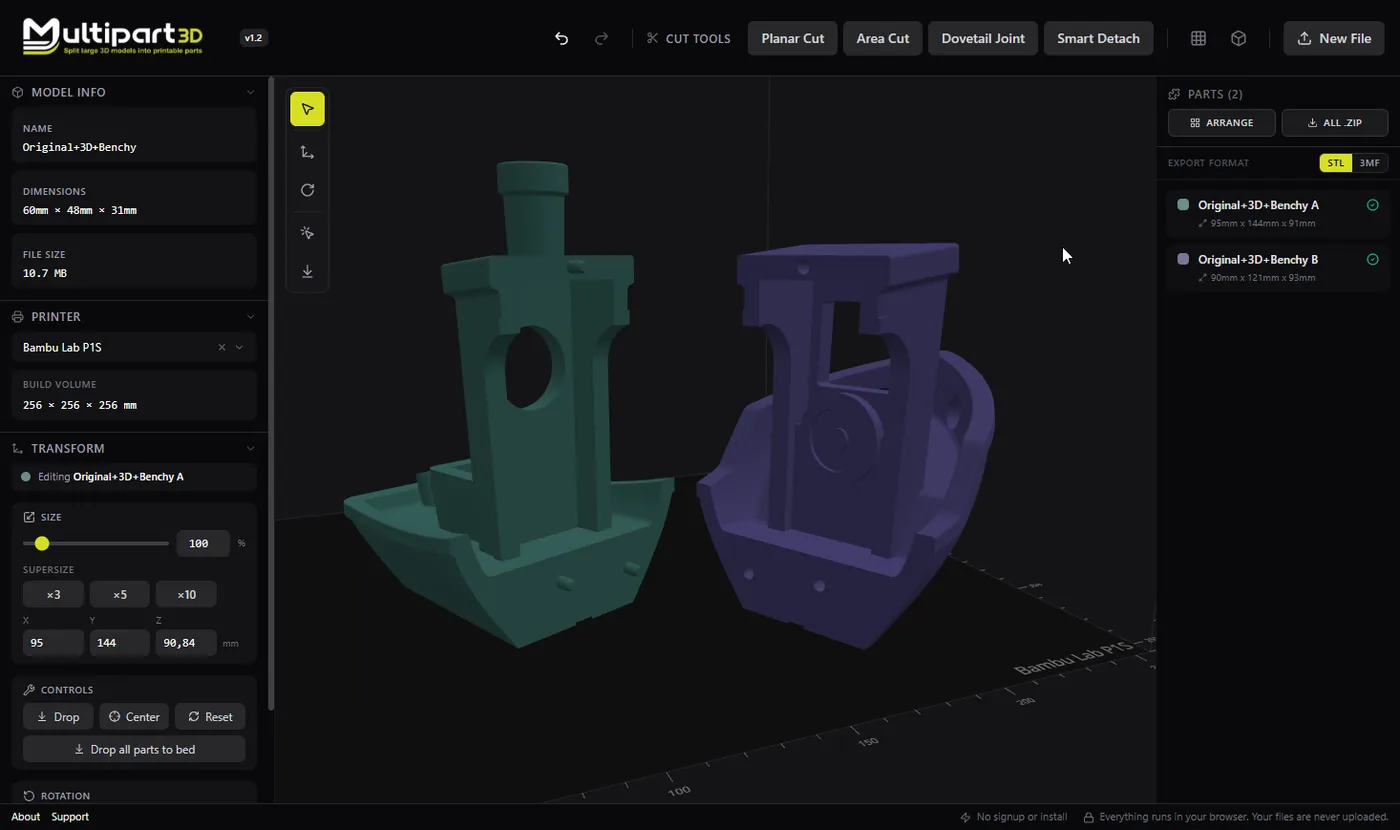
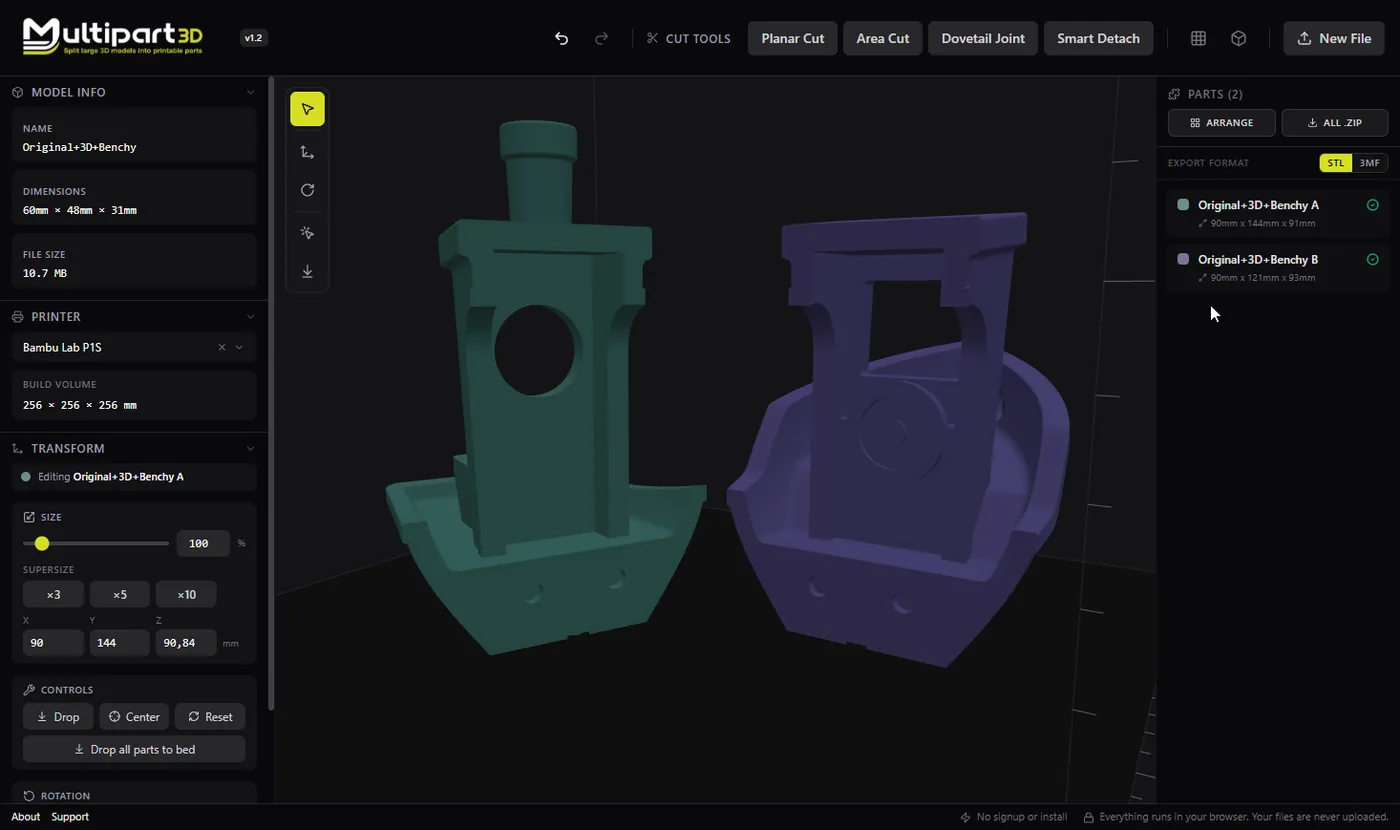
Multipart3D treats assembly as part of the product, not an afterthought. Place connectors on the cut face after a planar or area cut, or after detaching a feature that needs to remount.
Tolerance presets cover FDM and resin (tight, standard, loose), or set custom clearance. Non-circular plugs and dowels resist rotation when that matters for alignment.
Connectors use the same local, private workflow as cuts. No account and no file upload.
Tips
- Print a short connector tolerance test in your usual filament.
- Prefer magnets for removable accessories; plugs or dowels for glue alignment.
- Don’t place connectors through thin shells without checking wall thickness.